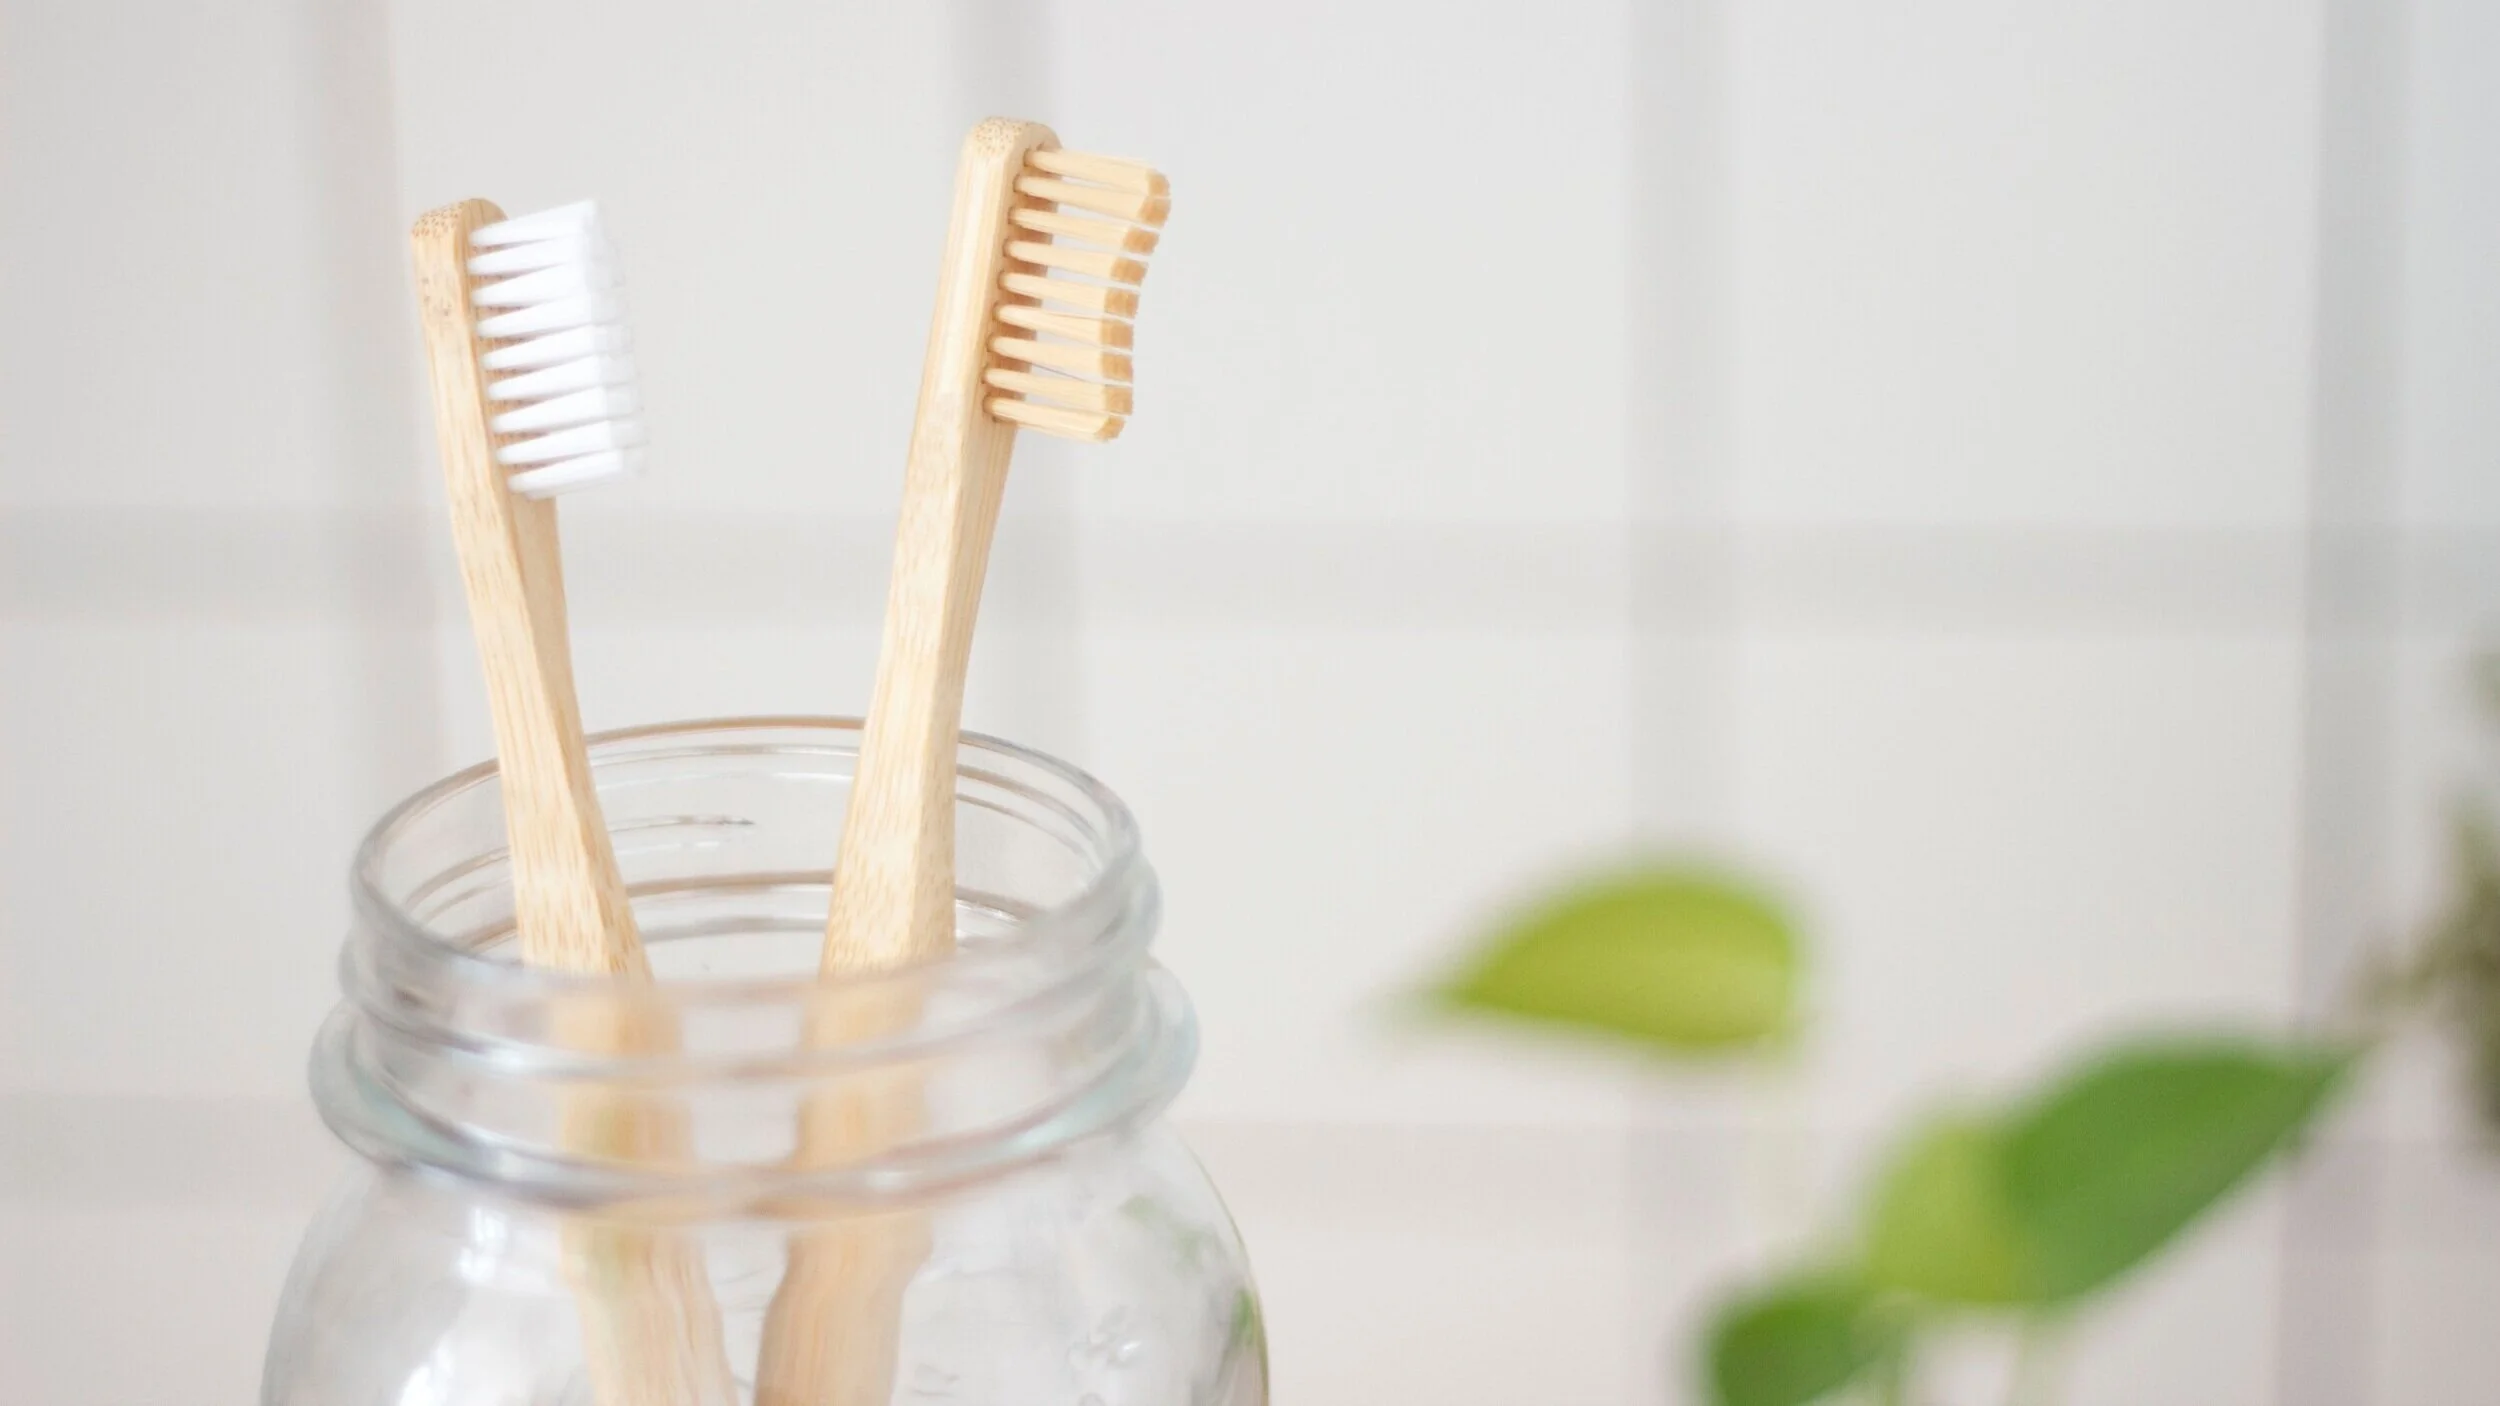
Toothbrush Cleaning Tips
There our toothbrush sits, behind closed cabinets; shoved thoughtlessly into toothbrush holders; left lonely on porcelain counters, waiting patiently for their next use.
It’s a faithful item, your toothbrush, and it’s an essential part of good oral health. But it can also become a problem if not used, stored, or adequately cleaned.
While you should aim to replace your toothbrush every three months, it’s also equally important to keep that tool sterile in between replacements.
The dirt on toothbrushes
Unfortunately, our toothbrushes can carry a lot of bacteria. A 2011 study from the NSF found everything from mould and yeast to Coliform (a family of bacteria including Salmonella and E. coli, and indicates potential fecal contamination) particles on toothbrush holders.
The good news is, you can make some simple changes in your household to stop the spread of germs and bacteria from settling on and around your toothbrush.
How to clean your toothbrush
Soak in mouthwash: Quick and easy, place your toothbrush in a cap-full of antibacterial mouthwash (ideally one containing alcohol for more bug-killing action) for one to two minutes to help dissolve food and bacteria particles. Rinse out and allow to dry before using.
Soak in baking soda: A mild yet active antimicrobial agent, baking soda is believed to help destroy mouth bacteria contributing to tooth decay. Stir two teaspoons of baking soda into one cup of water, then soak your toothbrush for one to two minutes. Rinse with cold water and allow it to dry before using it.
Soak in apple cider vinegar: With antimicrobial properties, this biodegradable disinfectant can help destroy mouth bacteria. Place your toothbrush in a cup of ACV for 30 seconds, rinse thoroughly, then allow to dry before using.
Soak in hydrogen peroxide: Deep-clean bacteria out of your toothbrush by letting it sit for 30 seconds in a cup of water with one teaspoon of a 3% (or lower) Hydrogen peroxide stirred in. Rinse thoroughly with cool water, then allow to dry before use.
Soak in denture cleaner: An excellent hack for an oral-safe cleaning solution, place your toothbrush inside a cup of water, then add a denture-cleaning tablet to help break down food deposits and eliminate bacteria particles. Rinse out and allow to dry before using.
Run through the dishwasher: The ultimate quick and painless clean, place your toothbrush (or electric toothbrush head) on the top rack or utensil holder in your dishwasher.
Toothbrush storage tips
Now that your toothbrush is sparkling clean and you’ve slowed the spread of bacteria to your mouth, you want to make sure all that cleaning wasn’t done in vain. To maintain that toothbrush-friendly hygiene, follow the storing tips below.
Storage tips for keeping your toothbrush as clean as possible
Wash or sanitize your hands before and after using your toothbrush
Before each use, run your toothbrush under warm water to wash away excess food particles
Avoid sharing your toothbrush
Store your toothbrush away from others
Clean your toothbrush holder regularly
Store your toothbrush upright, and allow it to air dry after each use
Close the lid when flushing the toilet to minimize the spread of airborne bacteria
Replace your toothbrush every three months (or when the bristles begin to splay)
A cleaner toothbrush for optimal oral health
By keeping your toothbrush sparkling clean between replacements, you’re allowing it to work its very best — and that means you’re helping to keep your teeth and gums healthier, overall!
Please visit our services for more information on maintaining peak oral health.

